Row 1 - follow this order for placing your blocks.
Usually, a piece of paper gets placed on the top left hand block so that when my blocks for a row are sewn together, they don't get switched around and after sewing on a row, I always know where the top part is.
 Fig.1 – this is what the back looks like with all the seams pressed open
 Row 2 – follow this order for placing the blocks.
 Row 3 - repeat Row 1
Row 4 - repeat Row 2
Row 5 - repeat Row 1
Row 6 - repeat Row 2
Row 7 - read on
This is what your 3 rows should look like.
This is what your 3 rows should look like.

This is how your 4 rows should look like now.

Five rows ... you are doing good!

Yay you .... your 6 rows are sewn together!
 Row 7 - Now .... before you start jumping to borders, there is still one more row to add on. When you take a look at the photo in Fig. 2 above, look closely at the top and bottom ... they do not match. The design in the top row is not complete.
In Fig.3 you will need to go back to your remaining tubes and pick apart those tubes until you have enough squares to match up with the colour and number indicated. If you don't have enough tubes to do the job, then that extra fabric that you have, cut out enough 2-1/2" x 2-1/2" squares that you are missing. See, there was a reason for that extra fabric. :o)
 Fig.4 - Before sewing your squares together, please make sure that on each square your straight of grain (SOG) is going up/down. To help you with this, look at your unpicked square and look where the seams were sewn together that you ripped apart. Can you see your original sewn seam? Look for needle marks. That will be your top/bottom on how to place your square for sewing. The reason for placing it this way is to ensure that this last row will match any fabric that has a directional print otherwise your eye will be drawn to those fabrics that don’t look like the others.
 Fig.5 - see where the arrow on the left hand side is pointing to? This is the order for placing your squares for sewing for this last row.
Now, once that Row 7 is sewn together and onto the top, your centre portion is now complete. Take a bow .... you deserve it!
Borders
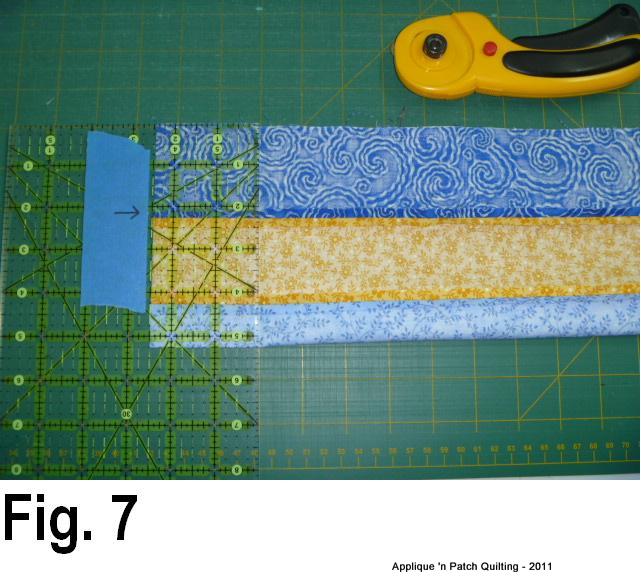
Take your border strips that have been cut out (scroll down to Part 1 of this tutorial and look under Cutting) and start working on your borders.
I sewed all the blue strips together in one long strip and the rust strips in one long strip.
Measure the width of your top in 3 places, add them together and divide by 3. That is the number for cutting out your first border for the top and bottom (this method is not for doing mitered corners)
 Sew your blue border pieces onto the top and bottom.
 Sew your blue border pieces onto the top and bottom.
Now for the sides, measure lengthwise in 3 places, add them together and divide by 3.
 Measure out your blue border strip to that number and cut and sew onto your top.
Do this same method for the rust inner border and for the outer blue border.
That is it ….. your top is done! Bravo!!
 Measure out your blue border strip to that number and cut and sew onto your top.
Do this same method for the rust inner border and for the outer blue border.
That is it ….. your top is done! Bravo!!
I have done my best to ensure that there are no errors in any of these tutorials and have checked and rechecked and rechecked, etc. I apologise in advance if you do find one. Please let me know immediately so that a correction can be made.
For this tutorial, you do have my permission to copy the photos, the tutorial, etc. and share amongst friends ..... please .... just don't use any of this tutorial for $ profit.
Have fun and have a great day!