That is how long it took me to finish my
Antique Sampler (by Sue Daley) top. Holey Moly ..... was I obsessed with this pattern! I just couldn't stop working on it. Don't I look pleased or what!
So, to help others wanting to make this pattern, but are shying away from it because it looks hard, well here are a few tips to guide you along.
Where to start? First, pick your background fabrics. Most of these fabrics are F/Q's with the exception of the large blocks which I bought extra fabric for. I chose whatever fabrics looked good together. There are Civil War fabrics in with Asian and more modern fabrics. A lot looked like tone on tone from afar.
How to place them? That is a good question. Following the pattern, my background fabrics were placed according to the blocks in the pattern.
Starting with the heart blocks (on the four corners of the pattern), one fabric was selected for the four heart corners. Because each small motif is repeated 4 times in the pattern, I started cutting four identical fabrics for each icon. This is when I thought that 16 fabrics was limiting, so only 4 fabrics were cut (4 x 4 = 16). Where you see the stars represent the 16 cuts and their placement. This is where I decided that the remaining small blocks were to be cut 2 per fabric. Confusing? Yes, but it works.
Now for the placement of those cut fabrics, I simply followed the pattern. The coloured lines show how they are placed. There is a reason for this that I will explain later.
As each motif was cut out and basted, they got pinned to the square (again following the pattern placement). By putting the white square on top of the background fabrics, this helped me to keep track of those squares and also to help choose colours.
Day after day, week after week, my blocks were coming together.
Stepping back, my layout can be adjusted. But what to adjust?
Can you see the lines? The motifs with the blue line can be adjusted because they have the same background fabric. Just the motif gets moved. The same with the yellow line. Or, I can move all 4 motifs around to wherever they fit in better with the surrounding colours. The background fabrics stay, but the motifs move. Simple. Once I was happy with the overall look, then the motifs were sewn permanently to the cream circle.
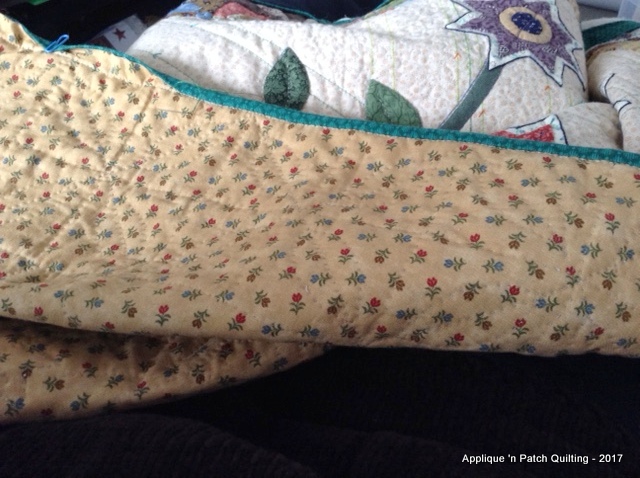
Here is my top with one border done.
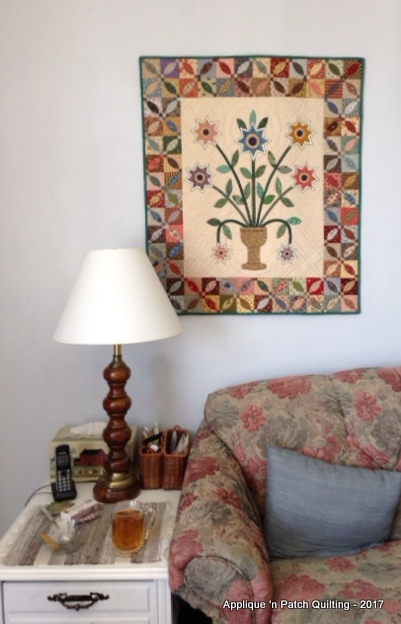
There were a few changes made (not many). The birds were done facing each other. The centre large block was changed. The vase was kept, but the flowers match the other flowers in the big blocks.
The basket motif was enlarged 130%.
The leaf in the border corners were substituted with circles.
In the large blocks, the leaf placement was adjusted. See the arrow? Now look at the other leaves and their placement. Right beside them is the pattern placement that were drawn onto the cream fabric (using my light box) which I felt looked odd. So, simply move the leaves around to the same placement as the one with the arrow beside it.
So, after all this, are you more confused or afraid to try the pattern? Don't be. Find friends to do the pattern along with you or do as Sue Daley says (don't fuss too much) and just try it.
Often times, I tend to get too technical and matchy matchy, and probably a tad OCD (ok maybe a lot OCD) but it works for me. Oh well, that is life and I'm happy with my way and the results show for themselves.
Have a great day!